


These burlap bunny bags are a cinch to make

All you need is a little burlap, some ribbon, paint or felt, yarn or glue~

For the large bunny I used a piece that measured 10″w x 35″ and folded it in half

Then I cut down the center about 7 inches. These will be the ears

You want one on the top right and one on the bottom left. Cut the other material away.
Stitch the sides of the face using a long running stitch, forming the bag.

Cut each “ear” into a tapered shape. Don’t worry if the edges fray a little, this is a fuzzy bunny!

Glue a pipe cleaner on the back of the ears to give them some body. I used spray adhesive so it dried very quickly.

I used a petal shape for the big bunny, and just 1/2 of a straight piece for the smaller bunnies.

Place a paper towel or piece of paper inside bag and under ears and apply some pink paint with a fairly dry brush

Fill in ears and cheeks, and draw or stitch on the facial lines

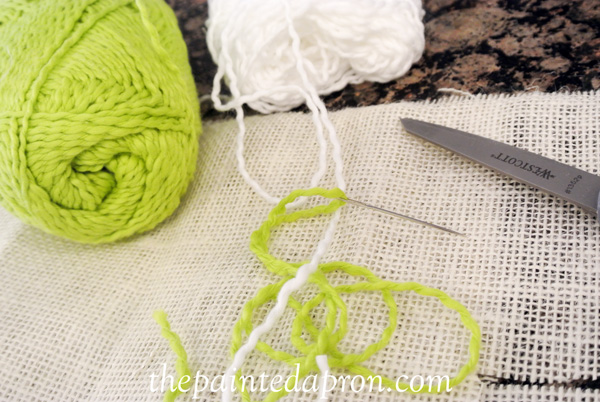
You can make whiskers out of pipe cleaners or burlap strings

wrap a small piece of a pink pipe cleaner around for the nose. Twist ends to secure

You can make these bags in any color combination

and in any size you like!

For the smaller bags I cut 4 rectangles, each measuring about 8 3/4″ x 12″, and pulled some strings from the edges so it would look evenly frayed
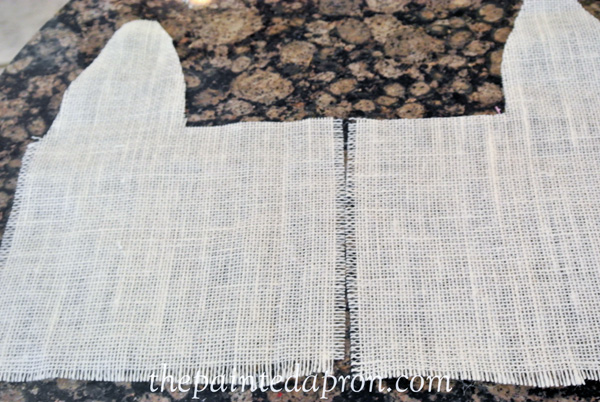
Make a pattern or simply free cut the ears, about 7 inches down as shown in figure above, cutting only one ear on each shape and then cutting straight across to the edge

Place right side over left so there will be one ear on the front piece and one on the back. Stitch the edges and bottom together using a piece of yarn and long running stitches. [Or sew the seams on a machine]
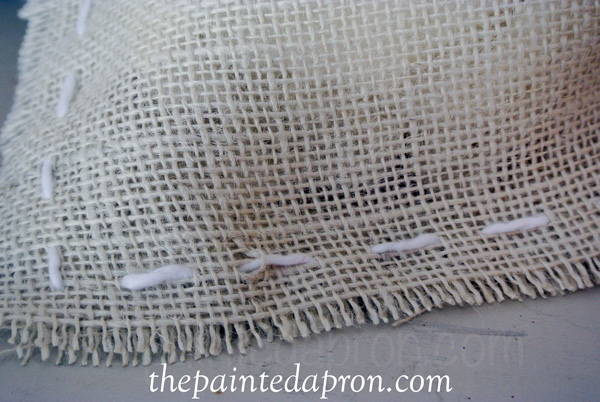
Tuck in a sheet of paper or paper towel and lightly paint bunny cheeks and ears on with a dry brush and craft paint, using a light touch. Practice your bunny face on paper first if you want, then use a sharpie to draw it directly onto the burlap

Cut up some burlap strings [reserved from pulling from the cutting channels] to make the whiskers. Use a pink pipe cleaner, or ribbon to hold the whiskers together and form a nose. A pipe cleaner is great for this because you can twist the wire and cut it off closely on the back. Use a dot of glue to secure whiskers on the bunny’s face, using the paper inside the bag to catch excess glue underneath.
Fill your bunny with goodies or stuffing and tie the bag with a ribbon at the top, gathering in the ears.

The one below was made a little differently for a more boxy look

Same method, but leaving the ears square, rather than tapered

and drawing on a more square face

a little orange for the cheeks and ears, just for fun
and a happy bright yellow jelly bean bow!


These will be fun to fill with a surprise or two for little ones~ or just to use for decorations!
_______________________________________
I will be joining these fabulous parties and blogs: